
 211
211
- If You Do NOT Have a ChatGPT Account Associated with Your SDF Email
- If You Already Have a Free ChatGPT Account Using Your SDF Email
- If You Do NOT Have a ChatGPT Account Associated with Your SDF Email
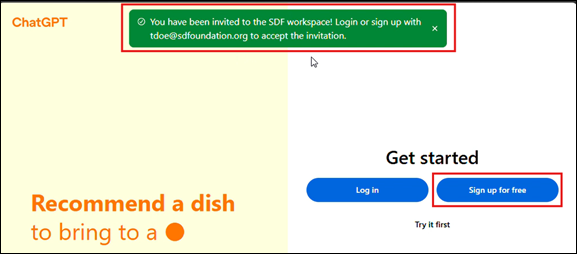
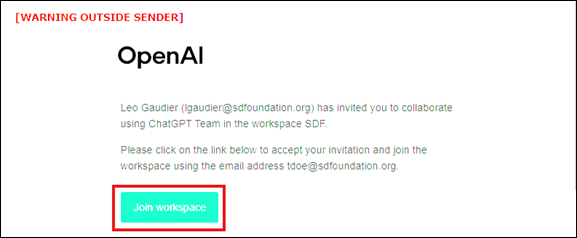
1. Open the Invitation Email: Click the “Join Workspace” link in the email invite from OpenAI.

2. Sign Up for a New Account: A browser will open to the ChatGPT site. Click “Sign up for free”.
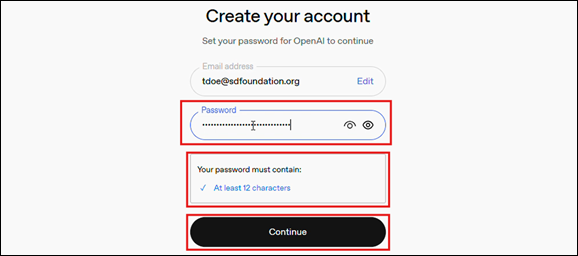
3. Enter Your SDF Email Address: Type in your SDF email and click “Continue”.

4. Create a Password: Choose a secure password that meets the required criteria, then click “Continue”.
5. Verify Your Email: Check your inbox for a 6-digit code. Enter it on the ChatGPT site and click “Continue”.

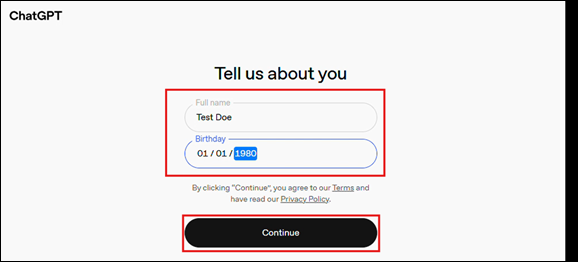
6. Enter Basic Information: Enter your full name and birth date, then click “Continue”.
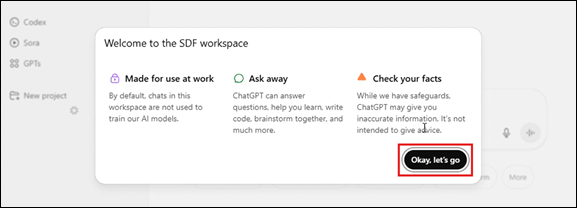
7. Complete the Initial Setup: Click “Okay, let’s go” to proceed.
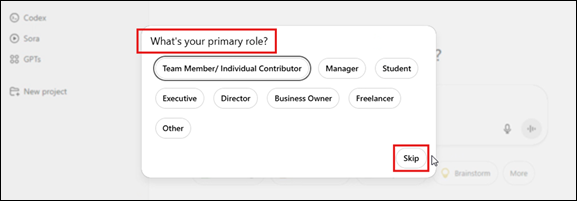
8. Choose a Use Case (Optional): Choose a primary use case or click “Skip”.
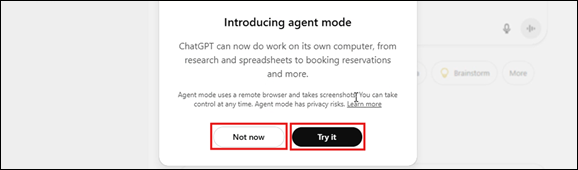
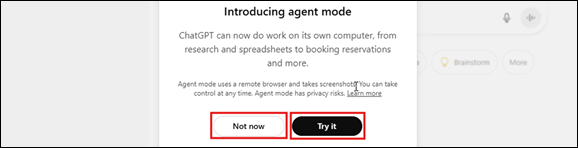
9. Agent Mode (Optional): Select either “Try it” or “Not now” when asked about Agent Mode.
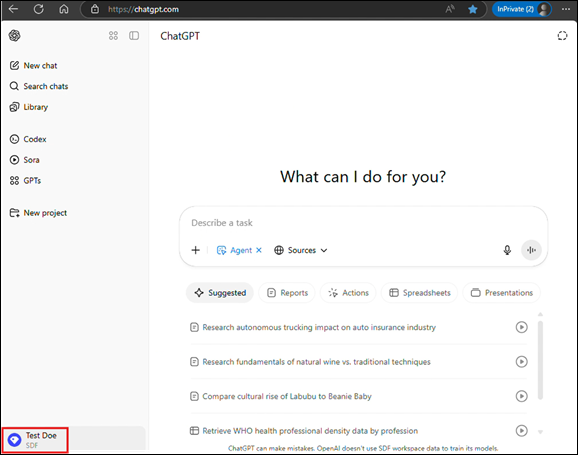
10. Confirm Workspace Access: Once complete, you’ll see “SDF” listed in the lower-left corner of the ChatGPT interface.
- If You Already Have a Free ChatGPT Account Using Your SDF Email
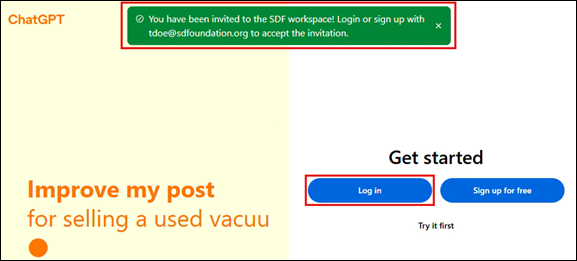
- Open the Invitation Email: Click the “Join Workspace” link in the email invite from OpenAI.
- Sign In to Your Account: A browser will open to the ChatGPT site. Click “Log in”.
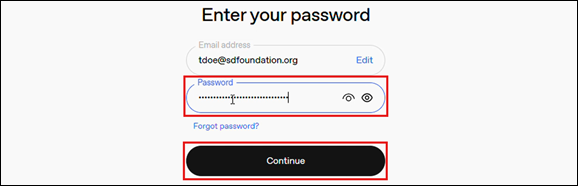
- Sign In to Your Account: Enter your SDF email and click “Continue”.

- Enter Your Password: Log in using your existing ChatGPT password and click “Continue”.
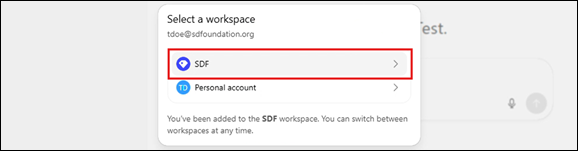
- Select Workspace Access: Choose SDF Workspace when prompted.
- Complete the Initial Setup: Click “Okay, let’s go” to proceed.

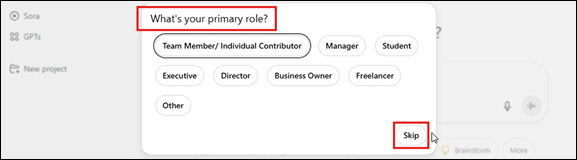
- Choose a Use Case (Optional): Select a primary use case or click “Skip”.
- Agent Mode (Optional): When prompted, select “Try it” or “Not now”.
- Confirm Workspace Access: In the lower-left corner of ChatGPT, you should see that you are part of the SDF Workspace.


